
Step-by-step beginner makeup guide
- leensoltan
- Apr 7, 2023
- 8 min read
Updated: May 3, 2023
Do you ever feel overwhelmed when you walk inside Sephora? Not sure what you came here for in the first place. I completely understand! It can be difficult to choose the right products, hence I prepared this guide to explain the fundamentals, techniques, and purpose of makeup products.
There are NO RULES when it comes to applying makeup. However, I'm going to break it down into a few simple steps to ensure you have seamless makeup. You've arrived at the right place if you're a beginner or intermediate hoping to build a simple routine!
To guide you in creating a simple beginner-friendly regimen, I have prepared this step-by-step guidance blog to help you build your confidence when applying your makeup and ease you into the process. For your benefit, I explain and discuss several of my preferred application techniques, in addition to a list of my all-time favorite and trusted cosmetics and skincare products.
1- Skincare
Three easy steps: Cleanse, hydrate, and protect.
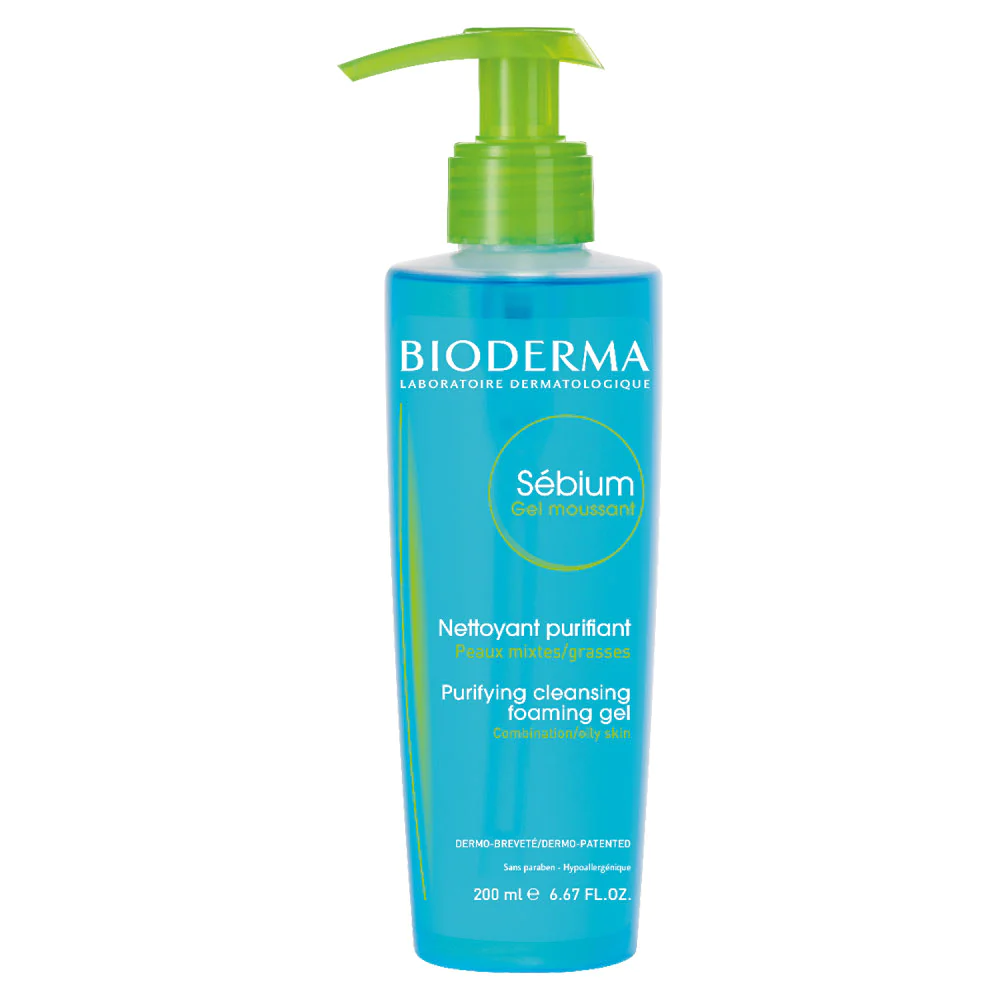
We must ensure that our faces are free of any oils, dirt, dust, makeup residue, or congested pores by thoroughly cleansing our faces using a suited cleanser for our skin type. To avoid stripping your skin of its natural oils, I recommend using a gentle cleanser in the morning. THE RULE OF THUMB: When all the natural oils are stripped away, your face produces DOUBLE the amount to compensate. As a result, I like to cleanse my face with a mild cleanser, such as the Bioderma purifying cleansing foaming gel.
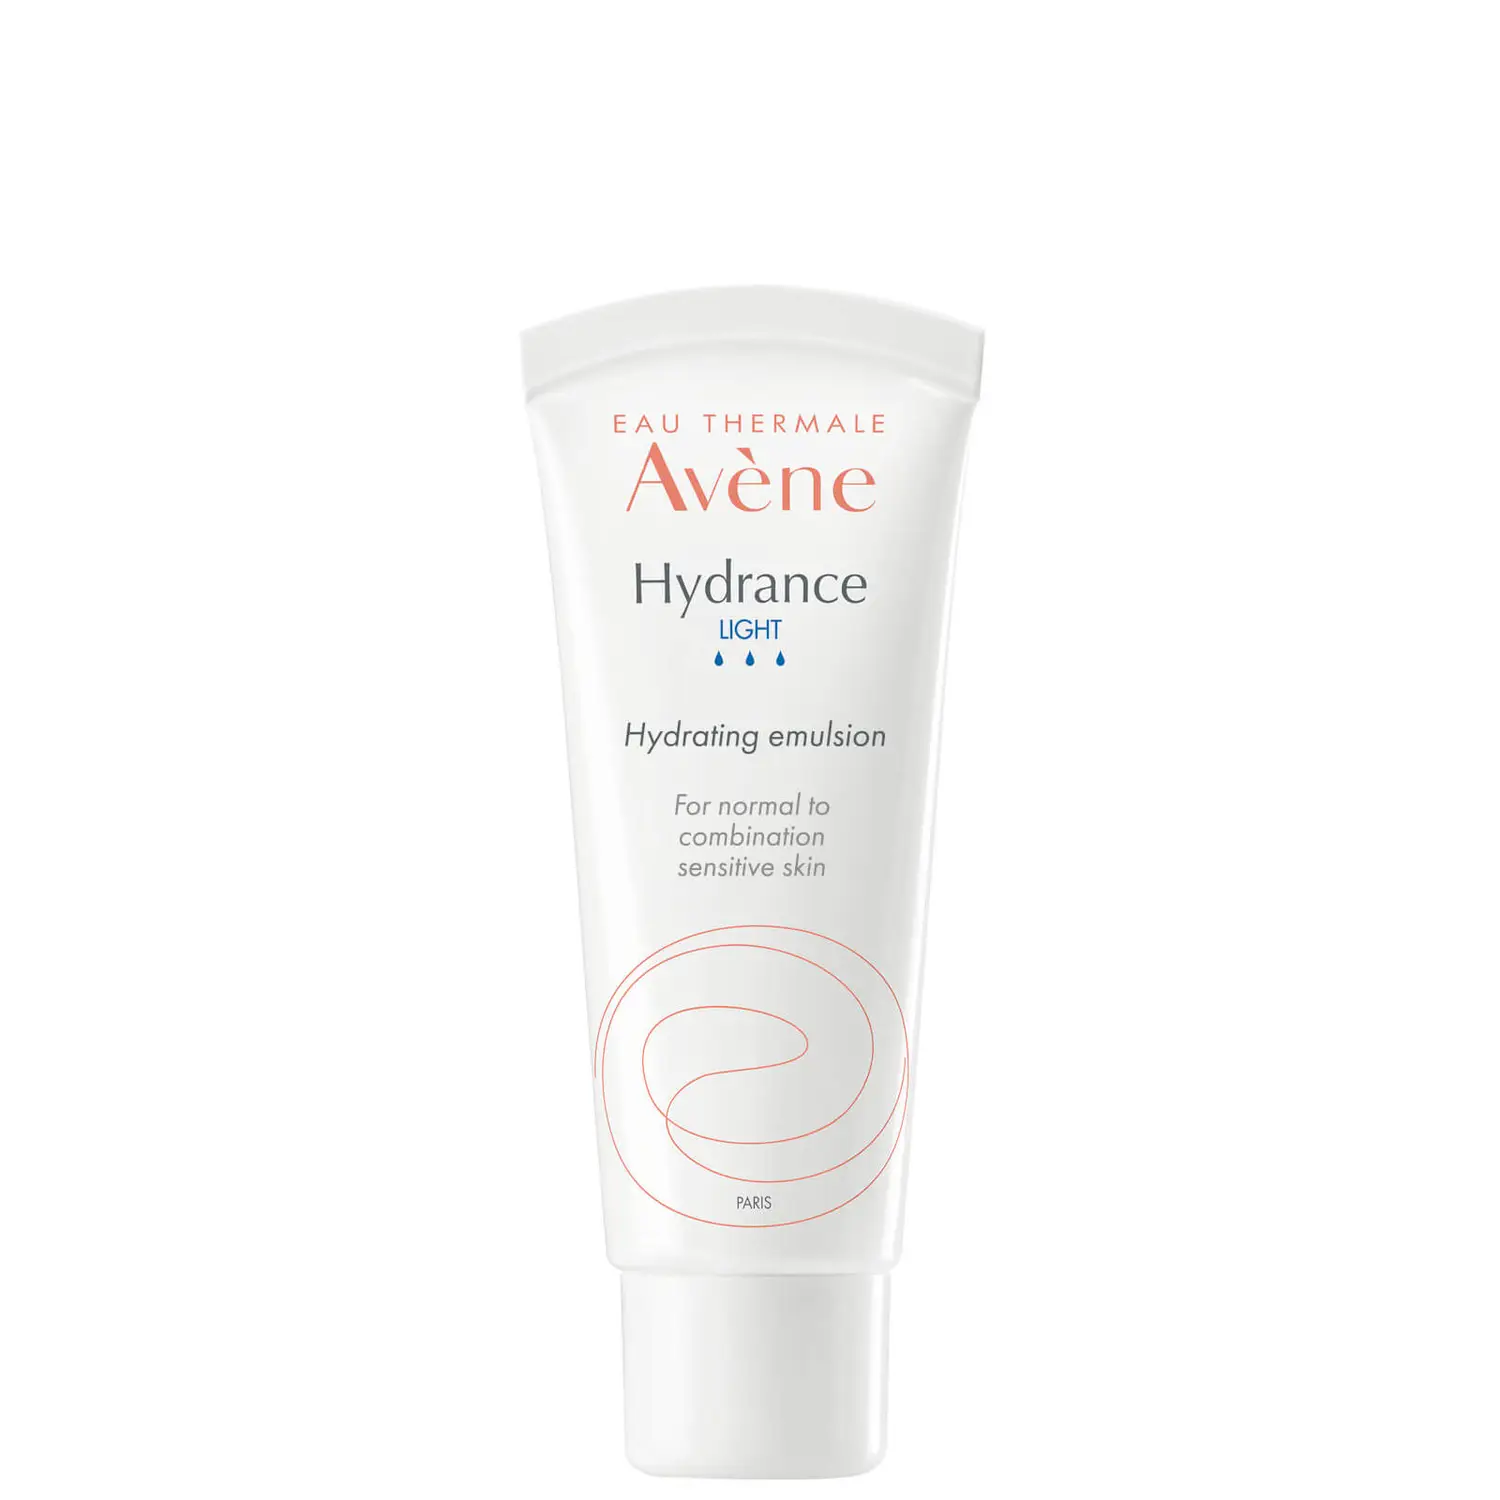
Followed by a lightweight moisturizer to hydrate and prepare the skin. I use the Hydrance LIGHT Hydrating Emulsion daytime moisturizer, and allow my skin to absorb it for around 15 minutes.
Lastly, SUNSCREEN you do not want to age young, so put on some sunscreen. Because some sunscreens have an unpleasant texture and tacky sensation, I recommend the ANTHELIOS LOTION SPRAY SUNSCREEN SPF 60 mist. You have no excuses!
2- Tinted moisturizer
For daytime makeup, use a lightweight tinted moisturizer instead of a heavy foundation. LESS IS MORE; the fewer products you use on your face, the more probable you will have a smooth, crease-free base. The purpose of a tinted moisturizer is NOT to conceal, but rather to balance out your skin tone and cover up any redness or hyperpigmentation. The new formula of Laura Mercier Tinted Moisturizer Natural Skin Perfector is my favorite tinted moisturizer. It not only conceals flaws, but it also contains sunscreen and Vitamin C.
Application: I always use a damp Beauty Blender when applying to help the product distribute evenly throughout my face. By damp, I mean run it underwater and squeeze out as much water as you can. I dab a tiny bit of the tinted moisturizer on the back of my hand before placing it on various areas of my face. I then begin blending with the beauty blender in a dabbing motion.
Tip: NEVER wipe a product on your face, you are just removing it.
3- Concealer
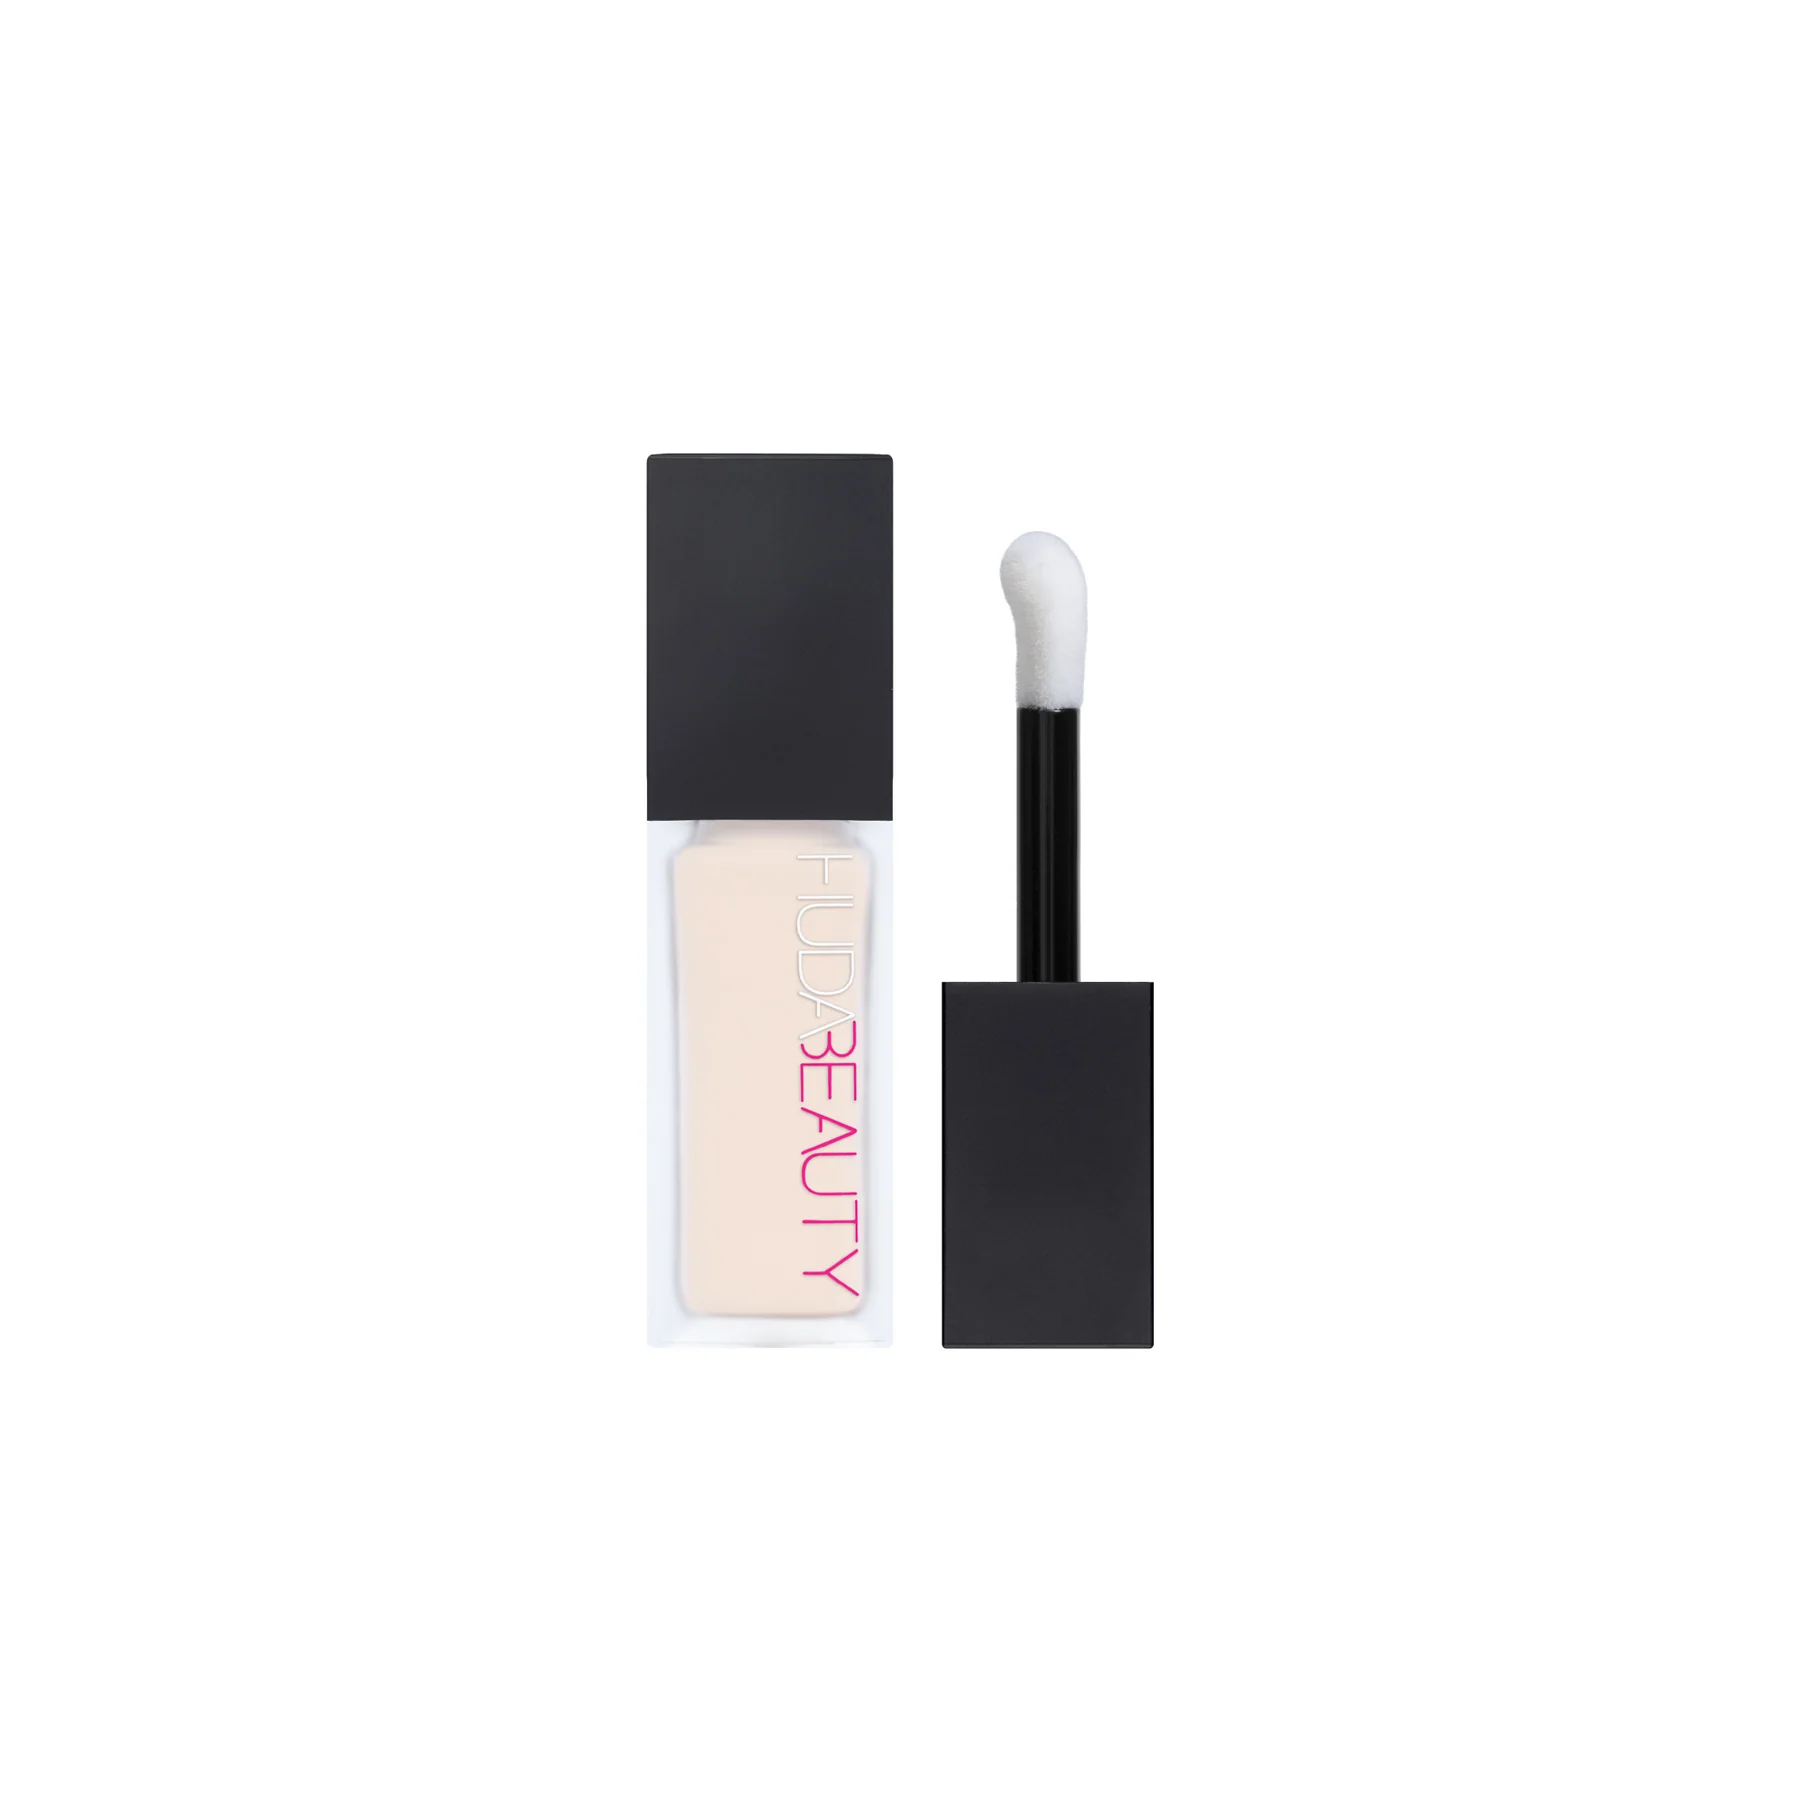
Here is the trick, since we used a lightly tinted moisturizer instead of a foundation, we use a medium to full coverage on the areas that need a little extra coverage. The Huda Beauty #FauxFilter Luminous Matte Concealer has been receiving a lot of attention recently and it certainly lives up to the expectation. Similarly, The tarte Shape Tape™ Concealer is an all-time favorite of mine, they offer a matt version for oily skin girls, and a new creamy formula; The Shape Tape™ Ultra Creamy Concealer for dry skin girls that prefer some more hydration under the eyes.
Pro tip: Buy two colors of your preferred concealer, one slightly darker and one somewhat lighter or the same color as your skin tone. The deeper shade conceals the dark circles and discolorations on the skin, and the lighter shade brightens and highlights the regions to make you look more awake.
To learn more about Concealer techniques check out this blog from Huda Beauty explaining Concealer Techniques & Where You're Going Wrong.
4- Contour or Bronzer
Do not get the two products mixed up; they are absolutely different and serve separate functions. A contour is a grey undertone that SCULPTS and emphasizes the shadows of the face, whilst a bronzer BRONZES the face and adds some warmth.
There are cream contours and bronzers in twistable sticks, as well as powder versions of both products. The cream contour has a stronger pigment; nevertheless, if you don't take your time blending and building up the desired pigment in little steps, it may quickly become a smudgy mess. For a first-time user, I recommend starting with a powder since it is faster and easier to blend.
You can do both or either, that depends on your preferences. I first use a contour stick, I apply a bit and build up then to set the cream in place I take a light sweep of the Kevin Aucoin Sculpting Contour Powder on my brush then build it up as needed on the hollow of the cheeks, forehead, jawline, and bridge of the nose.
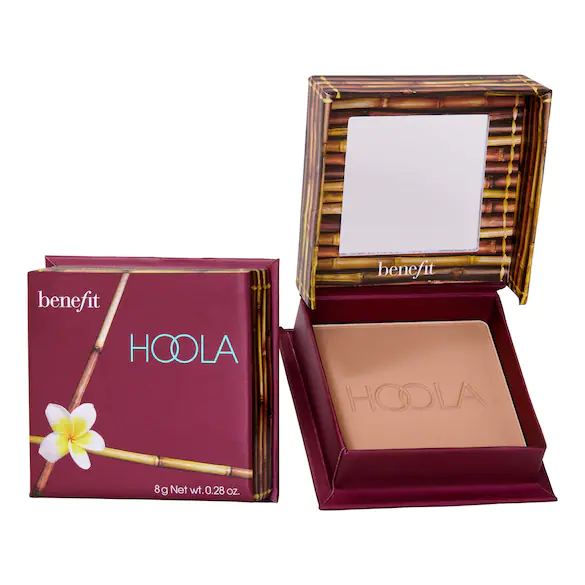
If I feel like my face needs a bit of warmth, then I use the Benefit Cosmetics Hoola Matte Bronzer and apply it right above my cheekbone. Do not overdo it! you do not want to have an orange line on your face.
Here is a guide on How to Contour to Flatter Your Face Shape.
5- Setting powder
Setting the face is, in my view, the most important component of a makeup routine. There is a distinction between a dewy appearance and a shiny mess!! Laura Mercier Translucent Loose Setting Powder. will always be my holy grail. They have a variety of colors that work for different skin tones, but the transparent shade is always the most dependable. It was tested to ensure that there was no white cast in flashlight photos.
Technique: For a velvet finish, take a touch of the loose powder and rub the excess on your palm before tapping it on the T-zone and under the eyes to seal the makeup in place and erase any shine. As per my experience, the powder I've recommended has a soft and blurring effect on the face.
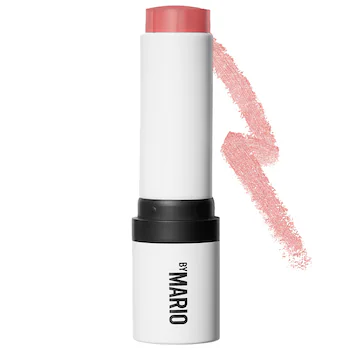
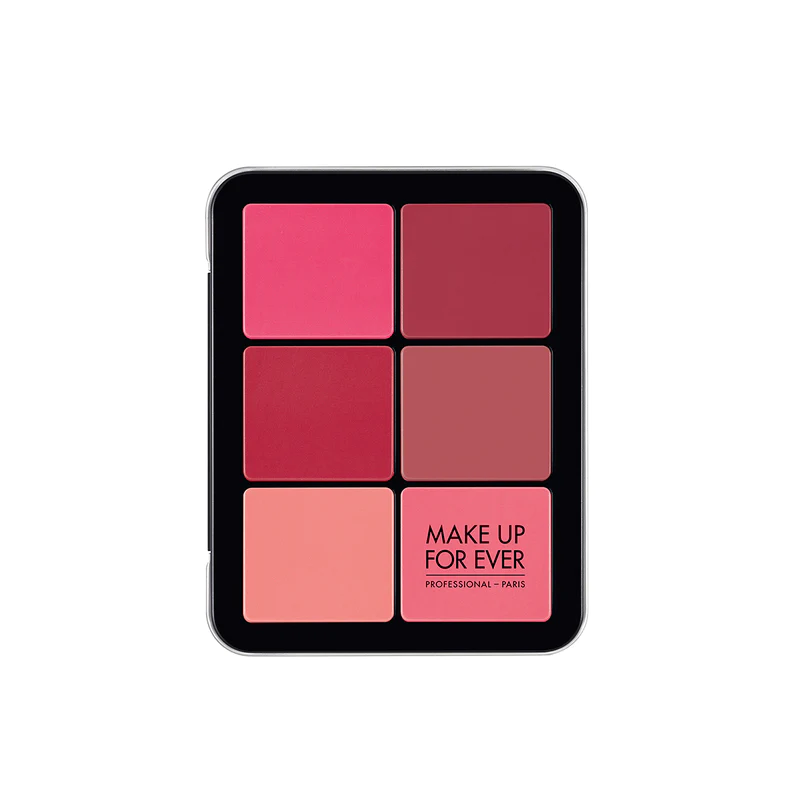
6- Blush
My favorite part of the makeup routine is BLUSH, it gives your skin a lovely flush of color and vibrance. We have some blushes that contain shimmer and some matt in addition to Powder and cream. If your preference is to have a glow, then definitely the Huda Beauty Glowish Cheeky Vegan Blush Powder is a must-have.
Some cream formulas that have been trending on social media are Rare Beauty Soft Pinch Liquid Blush, Makeup By Mario Soft Pop Blush Stick, Nars Liquid Blush, Milk Makeup LIP + CHEEK, and Makeup Forever Ultra HD Blush Palette.
For my girls with texture skin, always go for a matte blush; a highlighter is your enemy. It draws attention to skin texture making it ten times more visible than normal by HIGHLIGHTING it.
The matt powder blushes I recommend are the Dior Backstage Rosy Glow, Charlotte Tilbury Cheek To Chic Blush - Pillow Talk, Kylie Cosmetics Pressed Blush Powder- 335 - Baddie On The Block, Anastasia Beverly Hills Blush Trio, and Makeup By Mario Soft Pop Powder Blush.
How to apply blush?
Apply a minimal amount of blush with a fluffy brush by swiping it once over the pressed powder to get an even layer, then dab it on the temples of your cheekbones for a lifting effect. Then you may build up as much as you like, REMEMBER you can always add more but you cannot erase.
7- Eyebrows
The brows make the biggest difference, it shapes your face. There are several sorts of eyebrow products, including brow pencils, brow powders, brow pomades, and brow gels.
A brow pencil like the Anastasia Beverly Hills Brow Wiz Pencil allows for precision to draw or mimic real hair-like strokes.
A brow powder like the Anastasia Beverly Hills Brow Powder Duo is usually used when creating a thick and fuller brow by filling in the sparse areas with some powder.
A brow pomade is a formula that is waxy in form yet dry, it allows you to draw more defined brows and they don’t move from their place. A great one is from Benefit Cosmetics POWmade Brow Pomade.
A brow gel is used to keep brows set in place and some are created with some color to give a fuller look.
I use the Benefit Cosmetics Precisely My Brow Pencil and Benefit Cosmetics Gimme Brow+ Volumizing Eyebrow Gel for my long days. Benefit offers a wide range of brow pencil colors to suit all hair colors.
Technique: we start by brushing the brows and filling the sparse areas of the brows with light strokes then brush again using the spoolie at the other end of the pencil to create a fuller look. Followed by the brow gel to set them in place.
SHOP FACE


8- Eyes
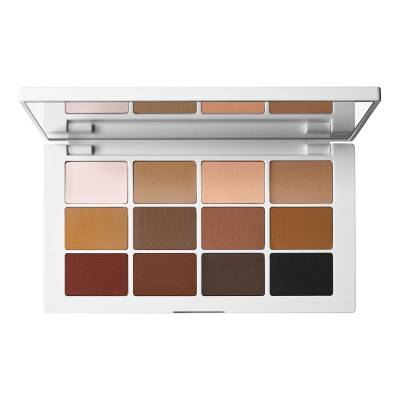
Since this is a beginner to an intermediate-level makeup routine, we don’t need a full eyeshadow look. A simple brown shade from any eyeshadow palette you own or even from your bronzer will get the job done. Applying a bit of color to your eyelids will give them a bit of a pop. My favorite eyeshadow palette is the Makeup By Mario Master Mattes Palette, it has a nice range of brown shades that can be used on their own or to create a rich look.
9- Mascara
Isn’t it so difficult to find one good mascara? I tried thousands of mascaras and these are personally tested and approved mascaras that I always grab; LANCÔME Hypnôse Drama Instant Volume Mascara, Too faced Better Than Love Volumizing Mascara, Benefit Cosmetics BADgal BANG! Volumizing Mascara, Benefit Cosmetics They’re Real! Magnet Extreme Lengthening Mascara, and Maybelline Falsies Lash Lift Curling Mascara.
Pro tip: use a lash curler to curl your lashes, wait a few seconds then take your mascara wand apply it on your lashes, and hold a mini portable fan right in front of you to allow the mascara to dry while the lashes are curled upwards, so it doesn’t fall back straight. It’s a bit extra, but it works!!
SHOP EYES


10- Lip liner
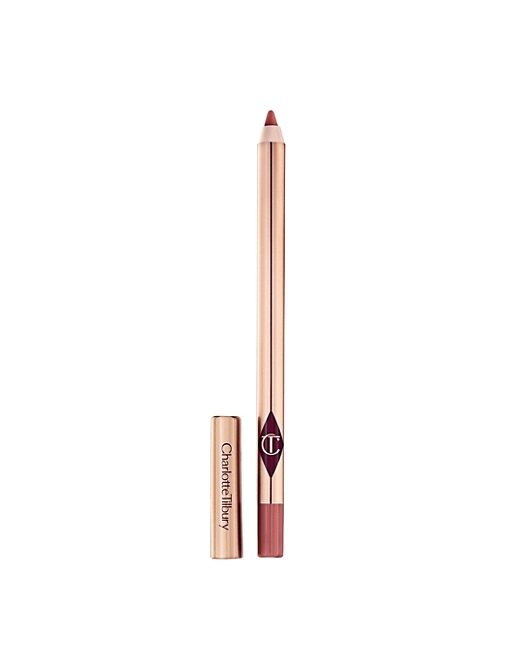
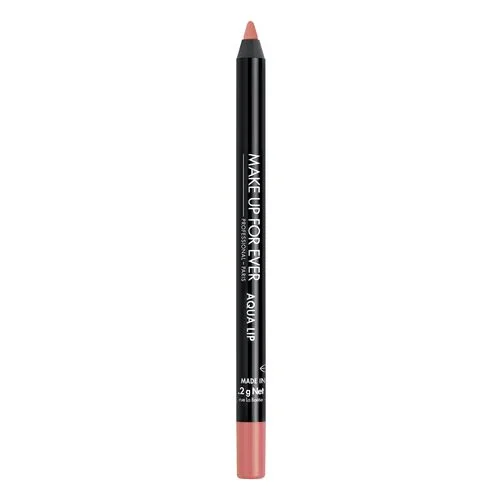
This is the fun part of makeup, changing the colors based on your outfit of the day. My favorite matte and easy-to-use lip pencils are Huda Beauty Lip Contour 2.0, Makeup For Ever Aqua Lip Waterproof Lip Pencil - 03c Medium Beige, Mac Cosmetics Makeup Lip Pencil – Spice, and Charlotte Tilbury Lip Cheat Lip Liner - Pillow Talk Medium.
11- Lipstick or lip gloss
You can never have enough lipstick!
It’s always been a struggle to find the perfect pink nude that has all the qualities I look for; smooth, long-lasting, and not sticky.
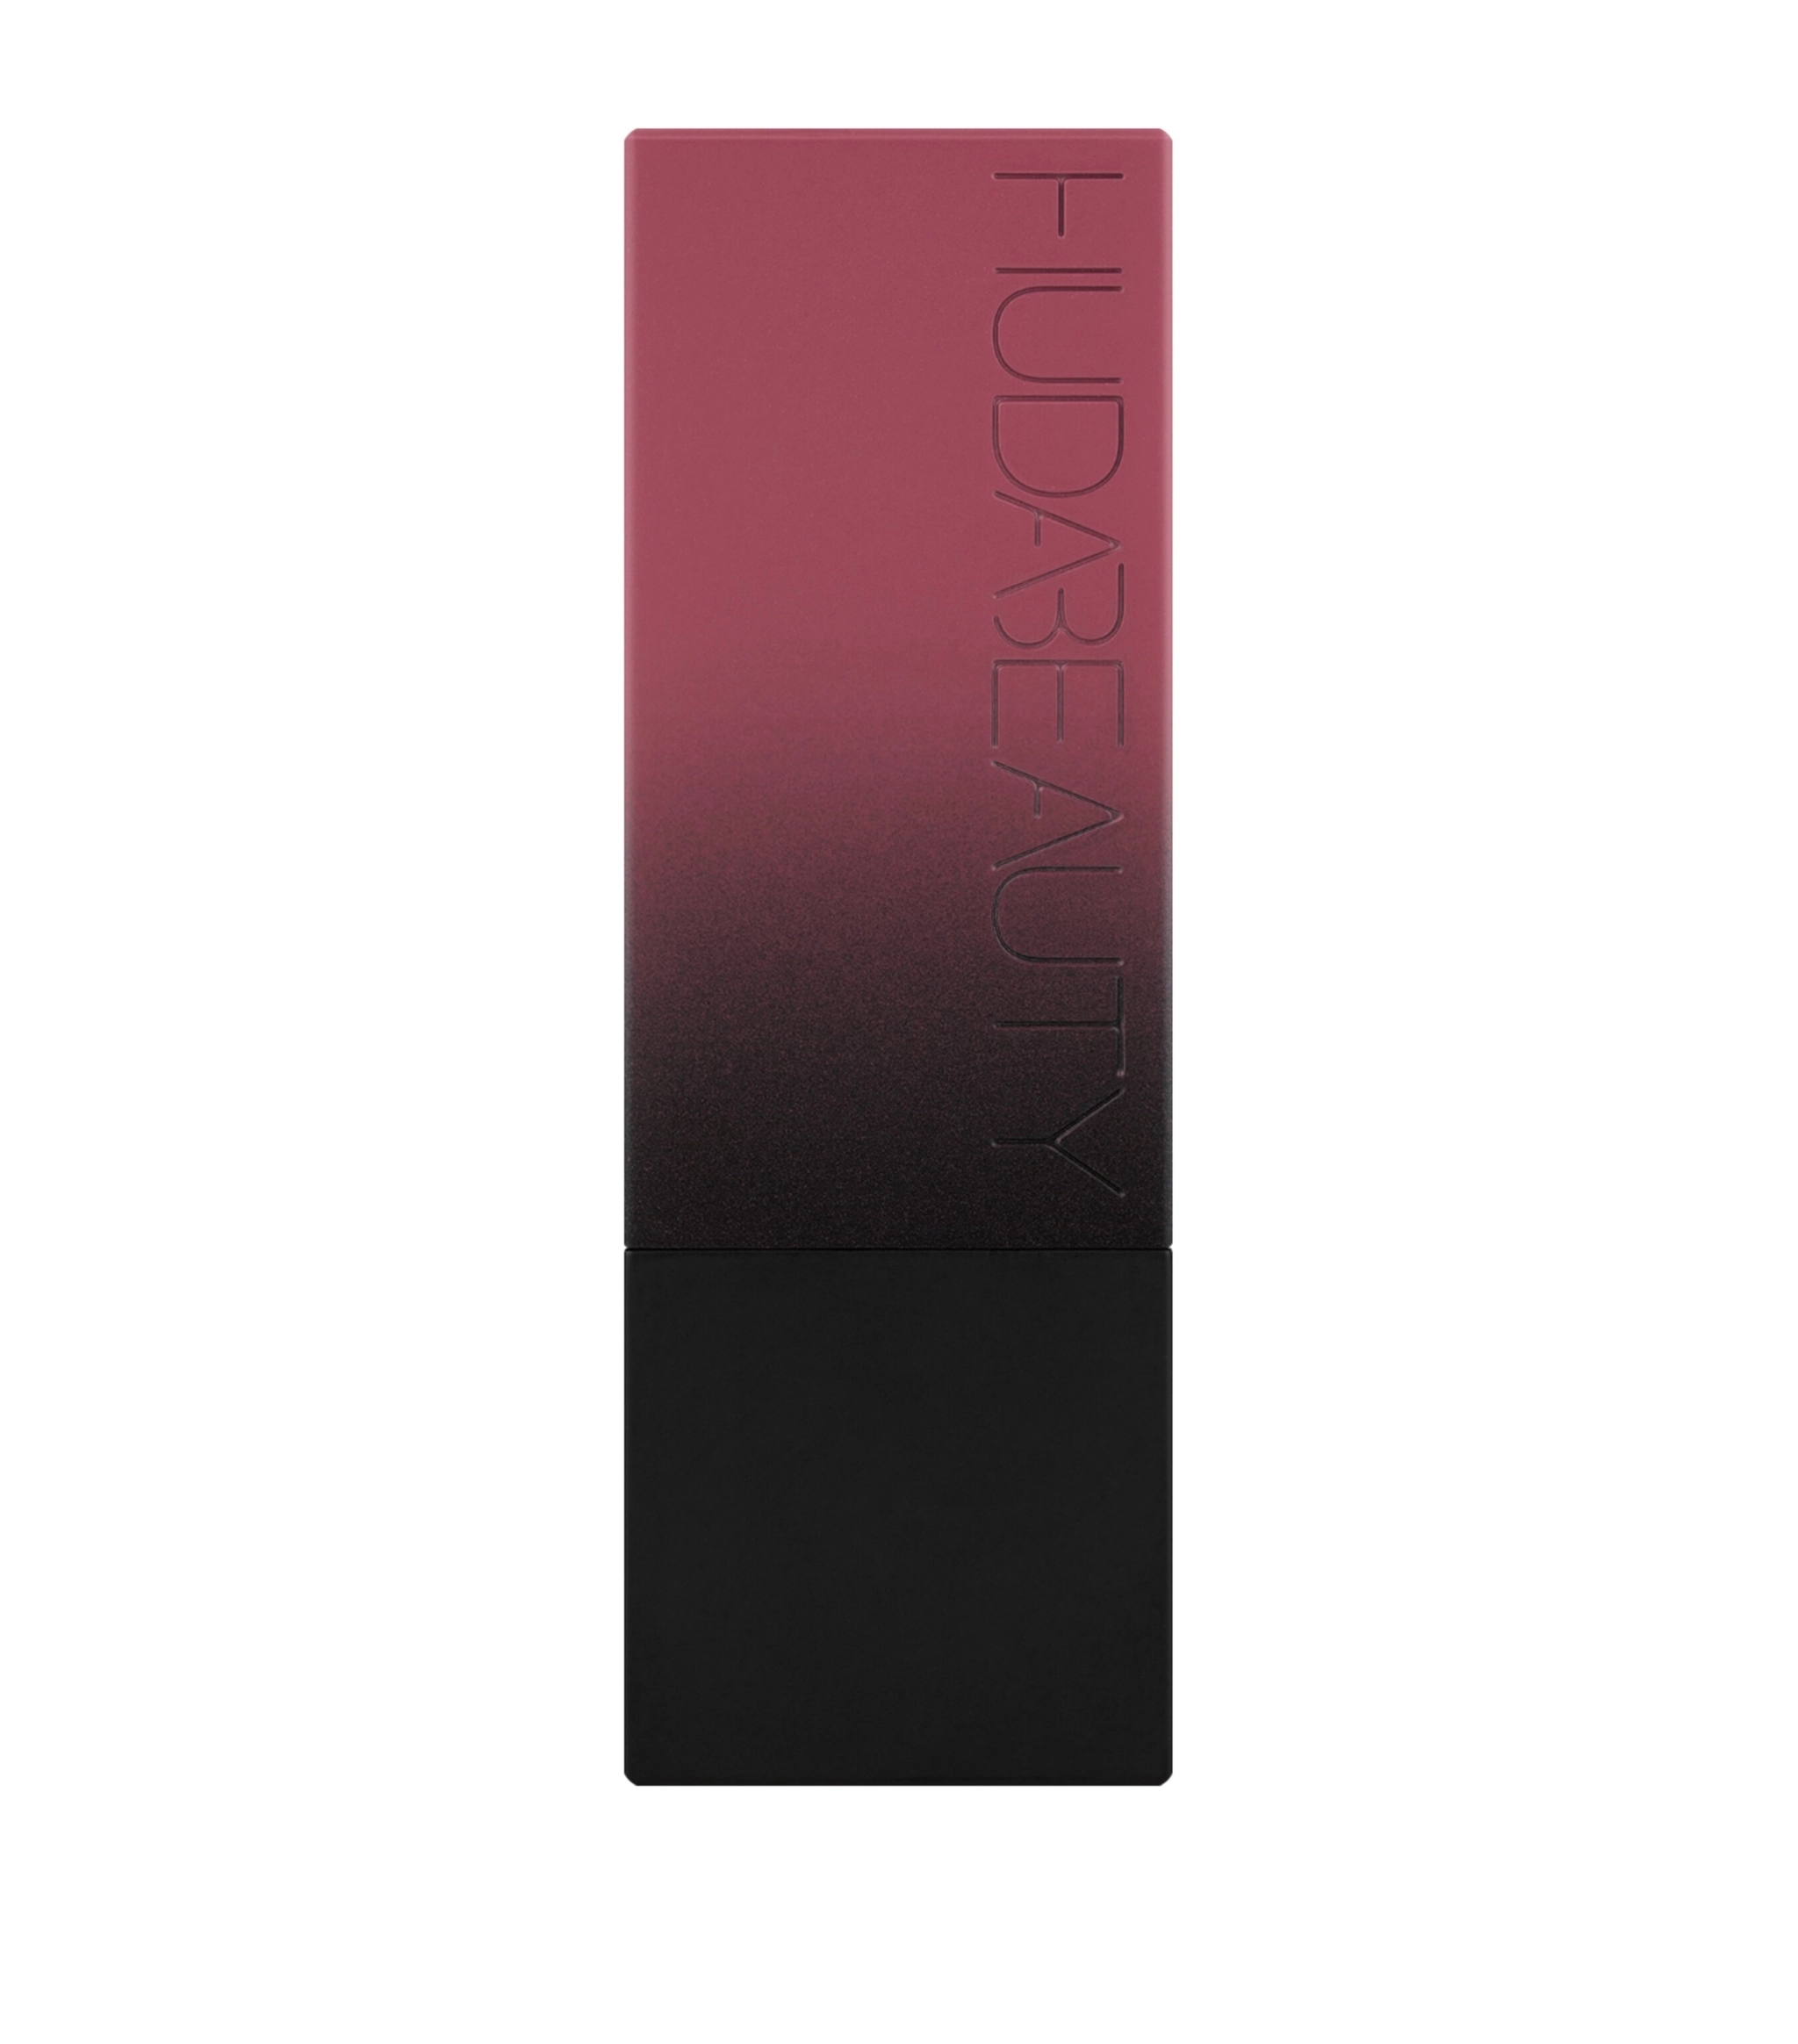
For long days I prefer to use a long-lasting lipstick that won't budge or disappear when eating or drinking. Some of the lipsticks I use are Kylie Cosmetics 2-Pc Matte Lip Kit - 808 - Kylie, Huda Beauty Power Bullet Matte Lipstick, MAC cosmetics Mini MAC Lipstick - Velvet Teddy, and NYX Professional Makeup Lip Lingerie Xxl Liquid Lipstick Busted.
Lip gloss on the other hand has an intense shine and could have color, shimmer, or just clear. It’s a nice product to use at gatherings or events. Some of my favorites are the Dior Lip Glow Oil, Fenty Beauty Gloss Bomb Lip Luminizer, and Too Faced Lip Injection Maximum Plump.
SHOP LIPS


Thank you for taking the time to read my blog! I hope you found it informative and enjoyable. If you have any questions or uncertainty , please feel free to reach out to me on Instagram, my most used application.
Don’t forget to leave a comment below and share with me your opinion! What would you like to see next?


Very good guide and straight to the point! I like it 👌
Amazing website! I will start interpreting these steps.
it’s so nice
Thank you for the tips! They were very helpful. I’m excited for more of your content)
That is so exciting and interesting to read!!!!